(photo: homebodyHQ)
Thinking about adding some personality to your walls? Wallpaper is a great way to bring color, pattern, and texture into your home. Whether you want a bold accent wall or a subtle backdrop, there’s a wallpaper option for every style and skill level. If you’ve never installed wallpaper before, don’t worry—this guide will walk you through everything you need to know, from choosing the right type to installation and pro tips for a smooth process.
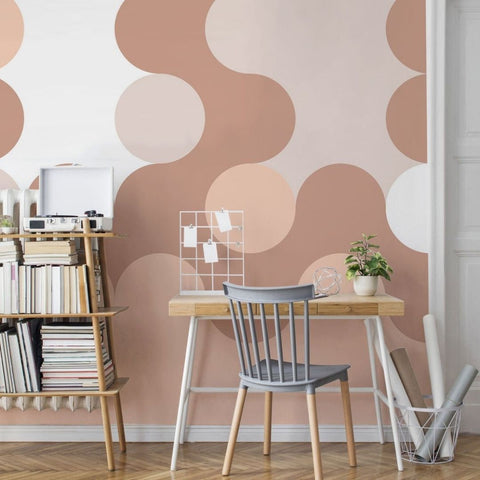
Types of Wallpaper: Which One Is Right for You?
Not all wallpaper is the same! There are three main types, and each comes with its own pros and cons.
1. Peel-and-Stick Wallpaper
Best for: Renters, accent walls, easy updates
Difficulty Level: Easy
Pros:
No paste or water required—just peel off the backing and stick it to the wall.
Repositionable and removable without damaging walls.
Great for DIY beginners.
Cons:
Doesn’t always adhere well to textured walls.
Can be more expensive than traditional wallpaper.
Edges may peel over time, especially in humid areas like bathrooms.
2. Prepasted Wallpaper
Best for: Bedrooms, living rooms, feature walls
Difficulty Level: Moderate
Pros:
No need to buy separate paste—just activate the adhesive with water.
Easier to remove than traditional wallpaper.
More secure than peel-and-stick but still beginner-friendly.
Cons:
Requires precise alignment since it can’t be repositioned easily.
Can be tricky to manage if the glue dries too quickly.
3. Traditional (Unpasted) Wallpaper
Best for: High-traffic areas, statement walls, long-term decor
Difficulty Level: Advanced
Pros:
Offers the most durability and high-end finishes.
Can be used on all wall types, including textured walls.
Doesn’t peel over time like peel-and-stick wallpaper.
Cons:
Requires separate wallpaper paste and a bit more skill to apply.
More challenging to remove compared to other types.
Can be messy to install.
Tools and Supplies You’ll Need
Regardless of the type of wallpaper you choose, here are some must-have tools:
Wallpaper
Measuring tape to measure your walls and paper
Utility knife or scissors for precise cuts
Level or laser level to ensure straight lines
Smoothing tool to remove bubbles and creases
Sponge and water for prepasted wallpaper
Wallpaper paste and brush for traditional wallpaper
Drop cloth to protect your floors
Pencil to mark guidelines on the wall
Step ladder for those hard-to-reach spots
Step-by-Step: How to Install Wallpaper
Step 1: Prep Your Walls
Remove any nails, outlet covers, or light switch plates.
Fill holes and sand down rough spots.
Wipe walls with a damp cloth to remove dust and grease.
For best results, apply a wallpaper primer (especially for traditional wallpaper).
Step 2: Measure and Cut Your Wallpaper
Measure the height of your wall and add an extra 2 inches to allow for trimming.
Cut your first strip and use it as a guide for cutting the others.
If your wallpaper has a pattern, make sure the design lines up between strips.
Step 3: Apply the Wallpaper
For Peel-and-Stick:
Start at the top and slowly peel away the backing while smoothing it down with a smoothing tool.
Work in small sections to avoid air bubbles.
If needed, reposition carefully before pressing firmly.
For Prepasted:
Submerge each strip in water for 30 seconds to activate the glue.
Fold the strip in on itself (glue side to glue side) and let it sit for a minute to allow the adhesive to activate.
Position the strip at the top of the wall and smooth it down.
For Traditional:
Apply wallpaper paste to the back of the paper or directly to the wall, depending on manufacturer instructions.
Carefully position the strip and smooth it down using a smoothing tool.
Step 4: Trim the Edges
Use a sharp utility knife to trim excess paper along the top and bottom.
Make precise cuts around outlets and corners.
Step 5: Smooth Out Bubbles
Work from the center outward using a smoothing tool.
If a bubble won’t go away, use a tiny pin to release the air, then smooth it out.
Step 6: Clean Up and Let It Dry
Wipe away any excess adhesive with a damp sponge.
Allow the wallpaper to dry completely before moving furniture back.
Pro Tips for Success
Start with an accent wall if you’re new to wallpaper—it’s easier and less overwhelming.
Use a level to keep your first strip straight. If the first strip is off, the rest will be too.
Don’t rush! Take your time to match patterns and smooth out bubbles.
Order extra wallpaper in case of mistakes or future repairs.
Work with a partner—one person can hold the paper while the other smooths it down.
For textured walls, use traditional wallpaper or a wallpaper liner for best adhesion.
This is no longer your grandmother's wallpaper. The days of excessive wallpaper that becomes seemingly structural to your home are gone. Wallpaper is now an easy DIY project that can really bring character to any space in your home. Whether you choose peel-and-stick, prepasted, or traditional wallpaper, each option has its own benefits and challenges. Take your time, follow the steps, and soon you'll have beautiful, professionally styled walls that make your space truly feel like home.