If you’ve ever looked at an old, outdated light fixture in your home and thought, “I should replace that,” you’re in the right place! Replacing old light fixtures may seem intimidating, but with the right tools and a little guidance, you can do it yourself and enhance your home’s look and functionality.
Why Replace Your Light Fixtures?
Maybe your light fixtures are stuck in a past decade, or they don’t give off enough light. Or perhaps you’re just ready for a new look! Updating your fixtures can:
Improve the aesthetics of your space
Provide better lighting
Increase your home’s value
Save energy if you switch to LED-compatible fixtures
Whatever your reason, replacing a light fixture is a DIY project well within reach. Let’s get started!
What You’ll Need
New light fixture
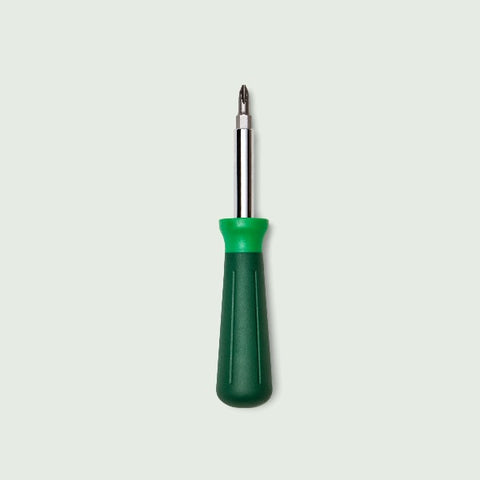
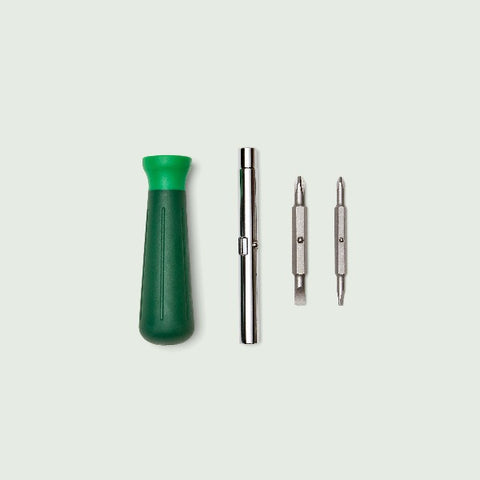
Screwdriver (flathead and Phillips)
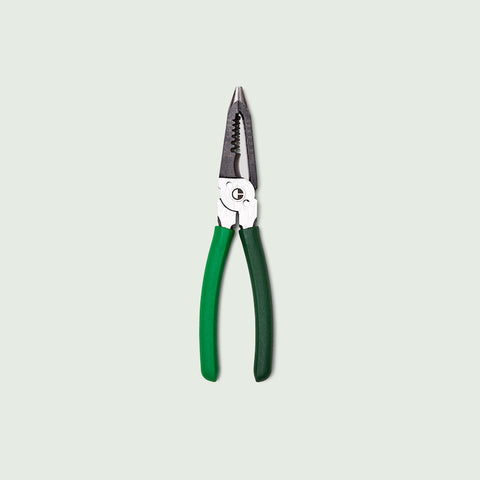
Wire strippers
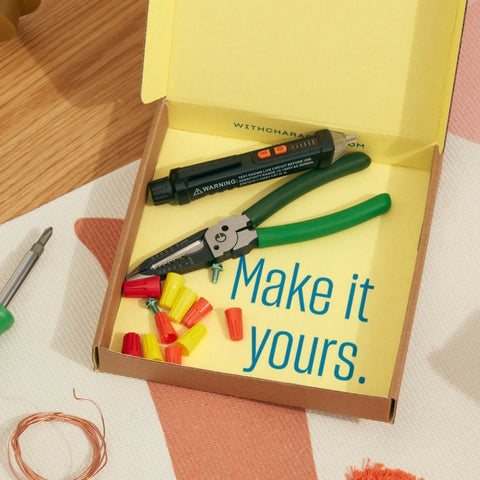
Voltage tester
Wire nuts (usually included with your new fixture)
Electrical tape
Ladder or step stool
Stud finder (if installing a new junction box)
Step-by-Step: How to Replace a Standard Ceiling Light Fixture
Turn Off the Power – This is the most important step! Head to your breaker box and turn off the power to the light you’re replacing. Double-check by flipping the light switch to ensure it doesn’t turn on.
Remove the Old Fixture – Unscrew the old fixture from the ceiling. Some fixtures have a decorative cover that needs to be removed first to access the mounting screws. Once the fixture is detached, carefully lower it and disconnect the wires by unscrewing the wire nuts.
Check Your Wiring – Use a voltage tester to ensure there’s no live electricity. You should see three wires: a black (hot) wire, a white (neutral) wire, and a bare or green (ground) wire.

Connect the New Fixture – Follow the instructions that came with your new light fixture. Generally, you’ll:
Connect the black wire from the fixture to the black wire from the ceiling.
Connect the white wire from the fixture to the white wire from the ceiling.
Attach the ground wire to the metal mounting bracket or ground screw.
Secure all connections with wire nuts and wrap them with electrical tape for added safety.
Secure the Fixture – Attach the new fixture’s base to the ceiling using the provided mounting bracket and screws.
Turn the Power Back On – Flip the breaker back on and test your new light. If it works, you’re all set!

Replacing a Canned Light Fixture

Canned lights (also called recessed lights) can be swapped out for stylish pendant or flush-mount lights without major rewiring. Here’s how:
Turn Off Power – As always, safety first!
Remove the Can Trim – Pull down the trim and detach any springs holding it in place.
Install a Retrofit Kit (if needed) – Some light fixtures require a conversion kit that attaches to the existing can light housing.
Connect the New Fixture – Follow the same wiring steps as for a standard light fixture.
Attach and Secure the Fixture – Mount your new light in place and enjoy the upgrade!

Converting One Light into Two
If you want to add an extra light fixture (like over a kitchen island or double vanity), you’ll need to split the electrical wiring. This is slightly more advanced but still doable!
Turn Off the Power – Again, never skip this step.
Access the Junction Box – Remove the current light fixture and locate the junction box.
Run New Wiring – You’ll need to run an additional wire from the existing fixture’s box to the new location. This may require cutting drywall and fishing wire through the ceiling.
Connect the Wires – Splice the new wire into the existing electrical connection. Use wire nuts to secure all connections.
Install Both Fixtures – Mount both fixtures and test them to ensure they’re working properly.
Tip: If running new wiring sounds intimidating, consider hiring an electrician for this step and then installing the fixtures yourself!
Extra Tips for Changing Lights

Always use a voltage tester to confirm the power is off before touching wires.
If your new light fixture is heavier than the old one, make sure your electrical box is rated to support the weight.
If your fixture isn’t working after installation, double-check your wiring connections.
Replacing light fixtures is a simple way to transform your home with minimal cost and effort. With these steps, even a beginner can tackle this project confidently. Now, go light up your home with your new skills!