Upgrading your lights is an easy, weekend DIY project that can add character to your home. Adding a dimmer switch to that light is a bonus upgrade that’s worth the extra few steps. Just like swapping your fixtures, this is a doable project for any homeowner. You don’t need an electrician for this. This guide will walk you through everything you need and all the steps you need to take.
READ: HOW TO CHANGE LIGHT FIXTURES
Why Add A Dimmer Switch
There are lights in your home that undoubtedly would benefit from a dimmer switch. Not only does it give you the option to create customizable mood lighting, but it can actually save energy and extend the bulb’s life. Dimmer switches are ideal for living rooms, dining rooms, and bedrooms where you may need varying levels of light throughout the day.
What You’ll Need
Before you begin, gather your tools, supplies, and safety gear:
Tools & Supplies:
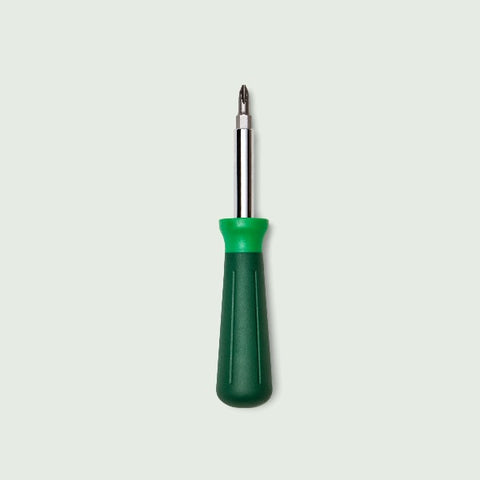
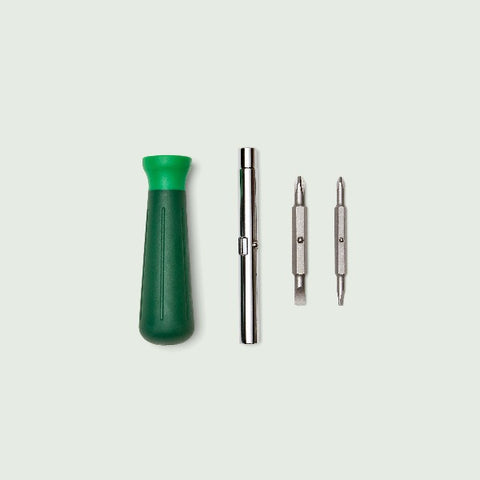
Screwdriver (flathead and Phillips)
Voltage tester
Wire strippers
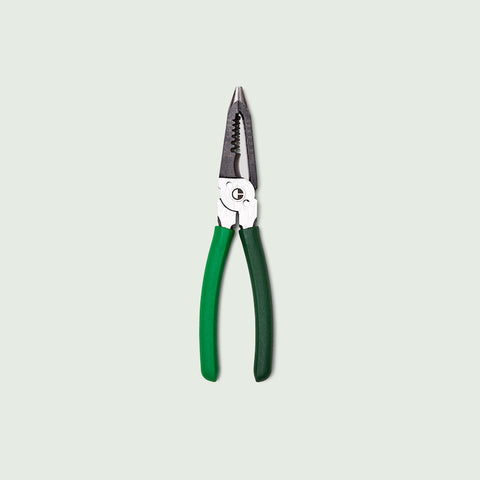
Needle-nose pliers
Dimmer switch (single-pole or three-way depending on setup)
Wire nuts
Electrical tape
Safety Gear:
Rubber-soled shoes
Safety glasses
 Understanding Your Switch Setup
How you convert your switch to a dimmer will depend on how yours is currently set up. Not all switches are created equal—and using the wrong dimmer for your setup won’t work (and could be unsafe). Don’t worry, this part sounds technical, but it’s easy to figure out with a quick check.
What’s the Difference Between Single-Pole and Three-Way Switches?
Single-Pole Switch: the most common type of light switch that controls one light (or set of lights) from a single location—like a switch next to your bedroom door that turns the overhead light on or off. A dimmer for this setup is super simple and inexpensive.
Three-Way Switch: this setup controls one light from two different switches; for example, a hallway light that you can turn on at one end of the hall and turn off at the other. This setup needs a three-way dimmer switch, which is designed to communicate with the other switch in the circuit.
How Can You Tell Which One You Have?
Here’s a quick way to figure it out:
Turn the light on.
Try flipping other switches in the room to see if any of them also control the same light.
If only one switch turns the light on and off, you have a single-pole switch. If two switches can each turn the same light on and off (regardless of the other’s position), you have a three-way setup.
You can also tell by looking inside the switch box (after turning off the power):
A single-pole switch typically has two screw terminals on one side (plus a ground wire).
A three-way switch usually has three terminals: two on one side and one (often a different color) on the other, in addition to the ground.
When to Call a Professional
While many homeowners can confidently replace a single-pole switch, there are situations where it’s better to hire a licensed electrician:
If your switch controls a light from more than two locations, you have a four-way switch setup—these are more complex and require special wiring.
If the wiring inside your switch box looks confusing or doesn’t match the diagrams you’ve researched.
If your switch box is made of metal or has aluminum wiring (older homes may have this), which requires special handling.
If you’re ever unsure or uncomfortable—there’s zero shame in calling a pro. Your safety is the top priority.
Safety First
Before you begin changing your switch or light, be sure to turn off your power at that breaker box. Double-check that the power is completely off with a voltage checker. You never want to skip this set! Now you’re ready to begin.
 Step-by-Step Guide to Installing a Dimmer Switch
Remove the Old Light Switch
Use a screwdriver to remove the faceplate. Then, unscrew the existing switch and gently pull it out of the electrical box—don’t tug too hard; the wires are still attached. Use a voltage tester to double-check that there’s no power running through the wires. This is a critical safety step—don’t skip it!
Identify and Label the Wires
You’ll usually see:
Black (or red) wires – These are the hot wires.
White wires – These are neutral (not always present at the switch).
Bare copper or green wire – This is the ground.
Single-pole dimmer: Only one switch controls the light. You'll typically see one black wire connected to the switch and another black wire connected to the fixture.
Three-way dimmer: Two switches control the same light (like from opposite ends of a hallway). These have an extra wire and need a compatible dimmer.
If you're not 100% sure, take a picture before disconnecting anything. Label the wires with painter’s tape and a Sharpie if that helps you keep track.
Disconnect the Old Switch
Unscrew the wire connectors (wire nuts) or loosen the terminal screws to release the wires. Then set the old switch aside—you won't need it anymore.
Connect the Dimmer Switch
Follow the instructions that came with your dimmer switch—there’s usually a small wiring diagram. In general:
Connect black to black (line to line).
Connect the ground wire from the switch (usually green or bare) to the bare copper ground wire in the box.
If you're installing a three-way dimmer, match the wires based on the labels or colors described in your instructions. Secure all connections with wire nuts and give each one a gentle tug to make sure it's tight. Then wrap each nut with a little electrical tape for extra security.
Tuck the Wires and Mount the Switch
Carefully fold the wires back into the electrical box, pushing them in gently like an accordion. Screw the new dimmer switch into place and add the faceplate (many dimmers come with a matching one, or you can reuse your old one if it fits).
Restore Power and Test
Flip the breaker back on and test the switch. The light should turn on, and you should be able to adjust the brightness with the dimmer slider or dial.
If it doesn’t work:
Double-check that all the wires are properly connected.
Make sure you’re using compatible light bulbs (many dimmers require dimmable LEDs or incandescent bulbs).
Common Mistakes to Avoid
Mistake: Using a Dimmer That Isn’t Compatible with Your Bulbs
Not all dimmer switches work with all light bulbs. Using an incompatible dimmer can cause buzzing, flickering, or even damage to the switch or bulbs.
Fix: Make sure your dimmer is rated for the type of bulbs you're using (LED, incandescent, halogen, CFL, etc.). If you’re using LED bulbs, check that both the bulbs and the dimmer are marked as “LED-compatible” or “dimmable.”
Mistake: Installing the Wrong Type of Dimmer (Single-Pole vs. Three-Way)
If you accidentally install a single-pole dimmer in a three-way switch setup, the light may not function properly—or at all.
Fix: Figure out how many switches control your light before buying a dimmer. If more than one switch controls the same light, you need a three-way dimmer. If only one switch controls the light, you’re good with a single-pole dimmer.
Mistake: Mixing Up the Wires
Misconnecting wires can lead to the light not working, the dimmer overheating, or tripping the circuit breaker.
Fix: Take a photo of your original wiring setup before disconnecting anything. Use the instructions that come with the dimmer (they usually have a wiring diagram). Don’t guess—match wire colors and labels carefully.
Mistake: Not Securing Wire Connections Properly
Loose wire nuts or poor connections can cause the dimmer to malfunction—or even create a fire hazard.
Fix: After connecting wires, tug gently on each one to make sure it’s secure. Always twist wires together tightly before adding a wire nut. Then wrap each connection with a little electrical tape for extra protection.
Mistake: Forcing Wires or the Switch Back Into the Box
If the wires are packed in too tightly, they can get damaged or come loose, creating a poor connection or short.
Fix: Gently fold the wires back into the box like an accordion—don’t stuff or crimp them. Make sure everything fits comfortably before screwing the switch into place.

Congrats — you just took control of your lighting like a pro. After you’ve done it in one room, try another! It’s rewarding to be able to dim your lights all thanks to your hardwork.