TIPS & TRICKS

How to prevent a moldy shower

Tips to help maintain keep your shower free from mold and mildew.

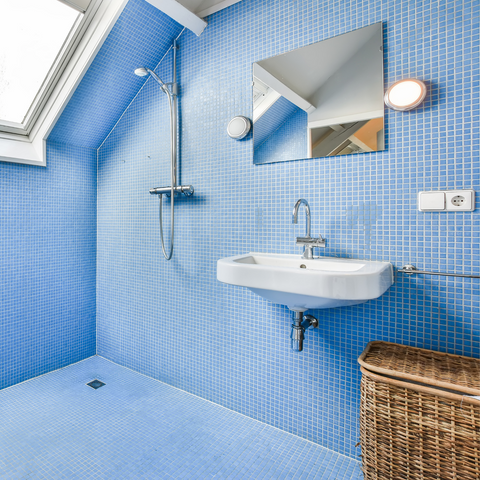
The high humidity environment of a bathroom can be great to de-stress after a long day, but it’s not so great when that leads to a buildup of mold and mildew in your shower.

Especially in environments like the shower, mold and mildew can build up and not only cause unsightly black or gray splotches, but could also be harmful to your health.

Luckily, keeping it at bay isn’t a difficult maintenance task and a lot of the job is actually done by choosing the right materials in the at the very beginning.

Choose the right caulk

Caulk is by its nature a waterproof sealant used between two materials, but once you get to the hardware store you’ll see there are multiple types for different uses. When caulking a shower or bathroom, be sure to use silicone caulk rather than acrylic because it remains 100% waterproof over time and is the most mold and mildew-resistant type on the market.

Ventilation is key

Because humidity is the cause of mold and mildew buildup, reducing the amount of moisture in the air is an important preventative measure. After showering, run a fan in the bathroom and open any windows for between 30 minutes and an hour to allow for proper ventilation.

Regularly clean shower walls

Cleaning shower walls and caulk weekly with bleach, hydrogen peroxide, or vinegar will kill any mold spores or bacteria that may have accumulated. For a deeper clean, or to remove heavy staining, use a solution of one part vinegar to two parts water and spray it on the area. Leave it for up to 10 minutes and use a soft toothbrush or cloth to scrub the area.

If it’s failing, replace it

Caulk that’s been applied within the last few years shouldn’t need any major touch ups but after a few years the caulk may begin to show cracks, chips or peeling and that’s a sign you should replace it.

Leaving poor caulking in place could put your home at risk of water leaks or pests slipping through the cracks, so every five years or so would be a good idea to remove the caulk from around the shower or bathtub and add a fresh new layer of silicone caulk.

Once you're ready to swap out your caulk, check out our cualking guide for DIY support.

Browse more stories like this one.

How to Design a Room Around Wallpaper
TIPS & TRICKS

How to Design a Room Around Wallpaper

14 tools everyone needs for DIY projects
TOOLS 101

14 tools everyone needs for DIY projects

Hapny cabinet hardware
TIPS & TRICKS

How to choose the right hardware for cabinets or furniture

How to choose the right wood finish for furniture.
TIPS & TRICKS

How to choose the right wood finish for furniture.

Browse Stories