Want to give your kitchen or bathroom a quick refresh without taking on a major renovation? Swapping out your cabinet hardware—think knobs, pulls, and handles—is one of the easiest and most budget-friendly upgrades you can make. Whether you're going for a modern look, vintage charm, or just want to get rid of those wobbly old knobs, changing hardware can completely transform the feel of your space.
Don’t worry if you’ve never done this before. This guide will walk you through everything you need to know—no special skills required.
Why Replace Cabinet Hardware?
Here are a few common reasons people update their cabinet hardware:
Aesthetic upgrade: Maybe your current knobs are outdated, mismatched, or just not your style.
Better function: Older hardware can be loose, squeaky, or uncomfortable to grip.
Finishing a renovation: New countertops or backsplash? Fresh hardware ties everything together.
Just because: Sometimes a small change is enough to make a space feel fresh and exciting again!
 Know Your Hardware
Before you shop, it helps to understand your options:
Knobs: Typically round or square, and only use one screw. Great for doors and drawers, especially if you want a simple, minimal look.
Handles or Pulls: Long, bar-shaped hardware that uses two screws. These are easier to grip, especially on heavier drawers. Within the pull family are "D" pulls and "T" pulls, which look like their respective letters.
Cup Pulls: Half-moon shaped handles you grab from underneath. These are often used in farmhouse or vintage-style kitchens.
Finger Pulls/Edge Pulls: These mount at the edge of the cabinet for a sleek, modern look—no bulky hardware sticking out.
Tip: You can mix and match! Try knobs on upper cabinet doors and pulls on drawers for a balanced look.
Tools & Materials You'll Need
Most of this can be done with just a few basic tools:
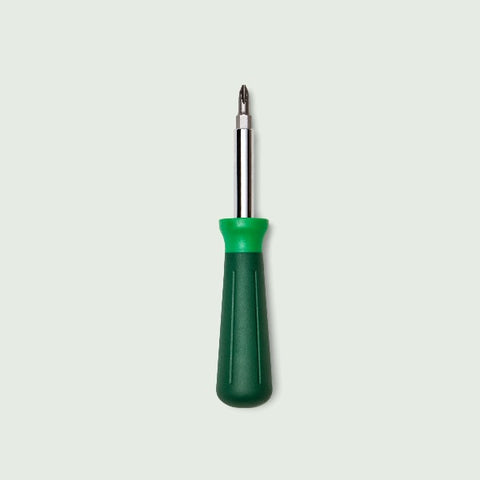
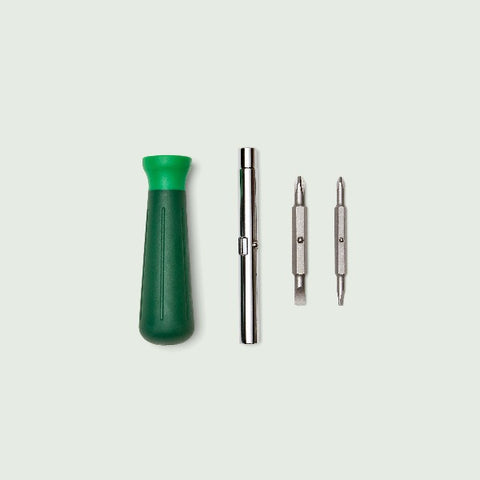
Screwdriver (manual or electric drill with screwdriver bit)
Measuring tape or ruler
Pencil
Hardware template or jig (optional but super helpful for accuracy)
Wood filler (only if you’re changing sizes or locations of hardware)
Putty knife
Sandpaper (fine grit)
Touch-up paint or stain (if you need to blend filled holes)
How to Measure for Cabinet Hardware
If you’re replacing old hardware with the same size/style, you can usually just measure the distance between the screw holes (called the "center-to-center" measurement).
Unscrew the current hardware and measure the distance between the center of each screw hole.
Match that measurement when shopping for new pulls.
For knobs, you only need to know the diameter if you’re being particular about aesthetics.
If you're installing new hardware in a different location (or changing knobs to pulls), you'll need to drill new holes.
Here are some of the most common center-to-center measurements you’ll see in the U.S.:
3 inches (76 mm) — very common for older cabinets or traditional styles.
3-3/4 inches (96 mm) — a popular modern size that offers a bit more finger space.
5 inches (128 mm) — frequently used in contemporary kitchens.
6-1/4 inches (160 mm) — often seen in newer or higher-end cabinetry.
8 inches (203 mm) — used for larger drawers or a more dramatic look.
10 inches (254 mm) — great for wide drawers, but requires a more substantial piece of hardware.
Some brands also offer metric sizes (like 96 mm or 128 mm) even if the product listing says inches—so it’s a good idea to measure precisely and double-check.
How to Fill Old Holes (If You’re Changing Sizes or Locations)
If your new hardware doesn't line up with the existing holes, no problem. Here's how to fill the old ones:
Remove old hardware and clean the surface.
Squeeze a small amount of wood filler into the hole using a putty knife. Fill it slightly above the surface level.
Let it dry completely according to the product instructions (usually a few hours).
Sand it smooth with fine-grit sandpaper.
Touch up with paint or stain to match the cabinet finish.
Then you can mark and drill new holes in the right spots for your updated hardware.
 Step-by-Step: How to Replace Cabinet Hardware
Remove the old hardware using your screwdriver or drill.
Clean the surface around the holes—it may be dusty or grimy.
Fill old holes (if needed) and let dry.
Use a template or measuring tape to mark new hole locations.
Drill new holes if necessary (start with a small drill bit for better control).
Install the new hardware, tightening each piece with a screwdriver until snug. Don’t overtighten—you could strip the screw or damage the cabinet.
What If the New Hardware Holes Are Close to the Old Ones?
Sometimes your new cabinet hardware doesn’t line up perfectly with the old holes—it’s just slightly off. Maybe you're switching from knobs to pulls or just upgrading to a different style. In this case, wood filler might not give you the strength you need to hold a screw securely, especially if it overlaps the old hole even a little.
Here’s what you can do:
Reinforce with Toothpicks (or Matches or Dowels)
If the new screw hole is close to the old one, and you’re worried it won’t hold tight:
Insert wood glue into the old hole.
Jam a few wooden toothpicks (or matchsticks or even a wood dowel if you have one) into the hole. Break or cut them flush with the surface.
Let it dry completely—this gives the screw something solid to bite into.
Sand it flush and then drill your new hole nearby.
This technique creates a much sturdier anchor for the screw than wood filler alone, especially when the holes are close together or partially overlapping.
Common Mistakes to Avoid
Not measuring properly: Always double-check the spacing between holes if you’re reusing them.
Overtightening screws: This can crack the cabinet or strip the screw head.
Skipping the template: Freehand drilling can lead to crooked or uneven handles.
Forgetting to check door swing: Some larger pulls or knobs can bump into walls or neighboring cabinets if not spaced well.
Limitations to Keep in Mind
Very old cabinets may not have standard hole sizes or may not take well to new holes without reinforcement.
Painted cabinets may require touch-ups after filling or drilling holes.
Faux wood cabinets (like laminate or thermofoil) can be tricky to match if you need to fill old holes—wood filler and paint may not blend well with the surface. Consider using backplates or hardware that covers the old holes instead.
If you're renting, check with your landlord before drilling new holes or making permanent changes.
Changing your cabinet hardware is a low-cost, low-commitment way to update your space—plus, it’s a great beginner DIY project. You’ll be surprised how much of a difference it makes, and once you’ve done one drawer, the rest will feel like a breeze.
So grab your screwdriver and get started—your cabinets are about to get a serious glow-up.
